
Underwater Poses for First-Timers
Floating, the reach, the spin, the hair flip and the backfloat: the underwater poses I'd start a first-timer on. Plus what to skip and why slow wins.
Most of what works for posing on land doesn’t work underwater. These are the poses I’d start a first-timer on, and the ones I’d skip. I picked most of this up shooting Dakota and at a workshop with a professional underwater model. For the bigger picture (cost, prep, safety), start with the underwater senior portraits guide.

Why underwater posing is different#
On land, gravity pulls everything down and you work with that. Underwater, buoyancy pushes everything up. Your hair floats, your clothes billow, and your arms and legs want to drift up. You’ll look best when you let them.
The other big difference: everything moves slower. That’s a good thing. Moving slowly is what makes a pose read as graceful instead of mid-flail, and the camera catches all of it.
Poses that look great#
The float#
The classic. Arms out a little, body relaxed, fabric fanning out around you. The less you try to control it, the better it looks.
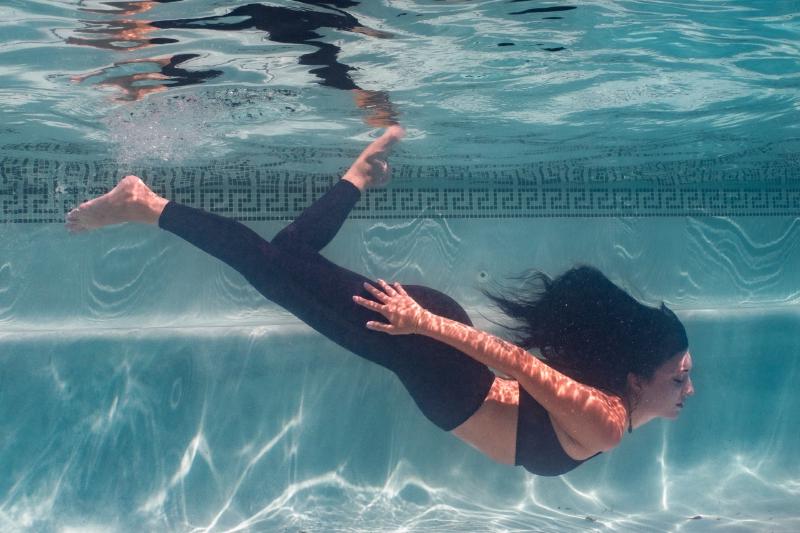
Nothing tense anywhere in that frame. That’s the whole trick.
The reach#
One or both arms stretched up toward the surface.
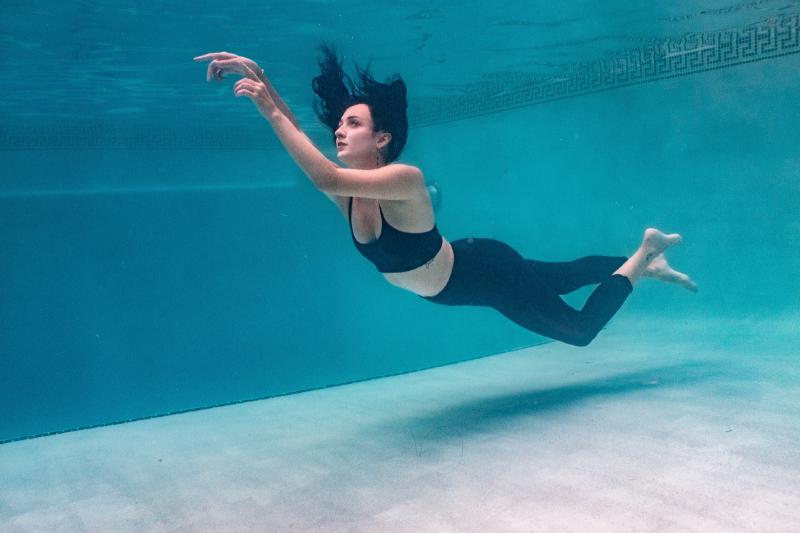
The reach is the first pose I ask for, because it gets your body long and gives me a clean line to shoot against.
The spin#
Turn slowly and the dress wraps around you and trails behind while your hair fans out. Timing matters, so I’ll call out when to spin and when to pause.

The hair flip#
Start face-down, then look up. Your hair goes everywhere, in a good way. Works best with long hair.
The backfloat#
Lie on your back just under the surface with your arms out to the sides. It’s symmetrical and calm, and the light comes straight down through the water onto you.
What doesn’t work underwater#
- Stiff, rigid poses. If you’re tense, it shows. The water amplifies any tension in your body
- Quick, jerky movements. Fast motion kicks up bubbles and disrupts the water. Slow and smooth is the way
- Standing straight up. Straight up and down looks weird underwater. Angles look better
- Fighting the float. If your arm or leg wants to drift, let it. That natural movement usually looks better than a forced position
Tips for better poses#
Relax your face. This is the hardest part. Practice keeping a soft, natural expression while holding your breath. Puffed cheeks and squeezed eyes ruin an otherwise great shot.
Point your toes. Just like in dance, pointed toes create cleaner lines and make your legs look longer.
Move slowly. Slower than feels normal. Then a little slower than that.
Leave the directing to me. I’m in the water with you calling out every pose, so you don’t need to memorize anything.
You don’t need experience#
Almost nobody has posed underwater before their first session. We start simple and build from there, and it gets easier with every set.
Your outfit matters as much as the pose. The wardrobe section of the underwater guide covers what floats and what sinks, and the underwater page has how sessions work.
You can see these poses in Dakota’s gallery, and Marie’s session shows what they look like when a professional underwater model does them. Want your own? Here’s what it costs, and here’s how to reach me. I only take about two sessions a month of any kind, so earlier is better.